How to Install IIS on Windows Server 2019
Once the Windows Server 2019 operating system has been successfully installed on your server hardware, make sure that all security updates and service packs are applied so that your operating system is as up to date and secure as possible.
To install the Web Server (IIS) role along with the necessary ISAPI Extention support, do the following:
-
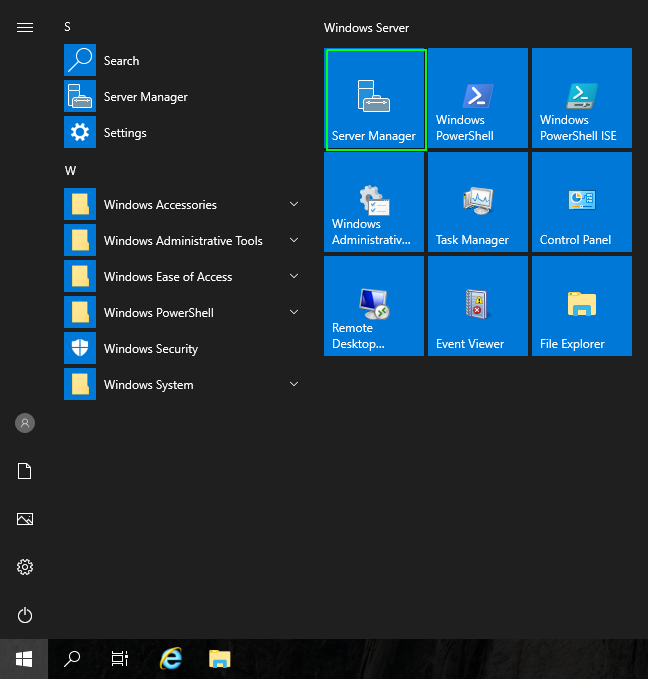
Launch the Server Manager application from the Start menu.
-
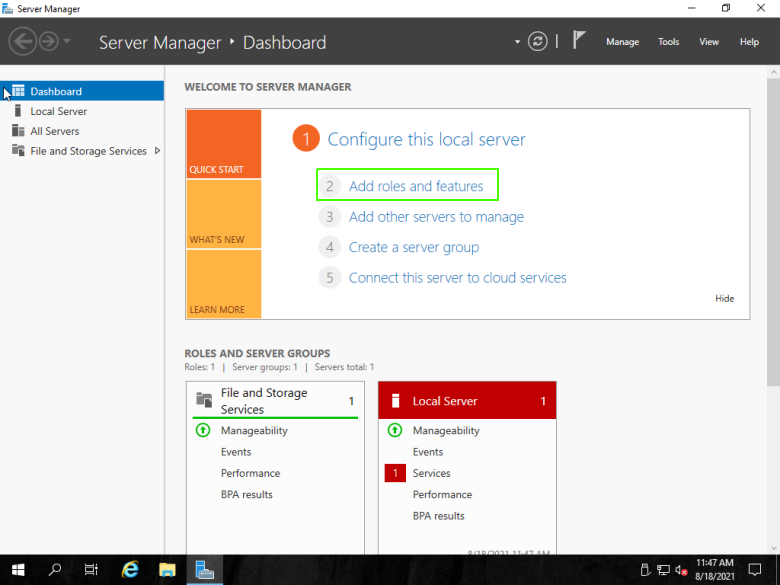
From the Server Manage Dashboard, click on the “Add roles and features” link.
-
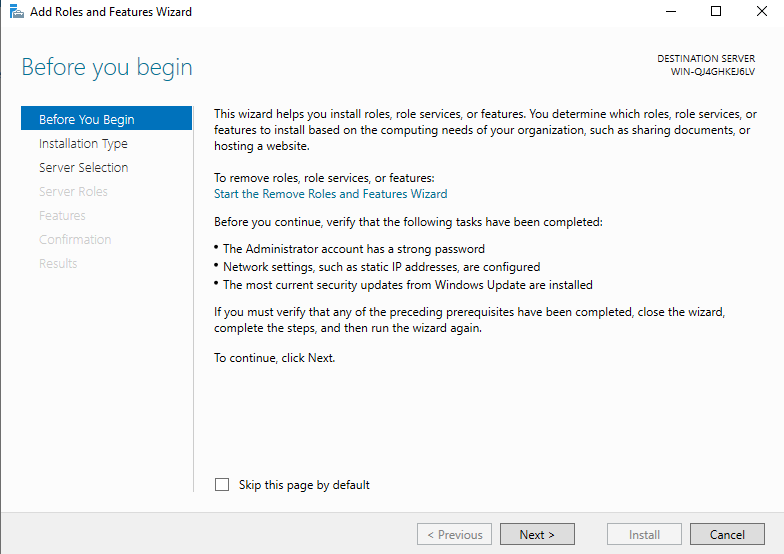
The “Add Roles” wizard will then appear. Read the “Before You Begin” page, and then click on the “Next” button.
-
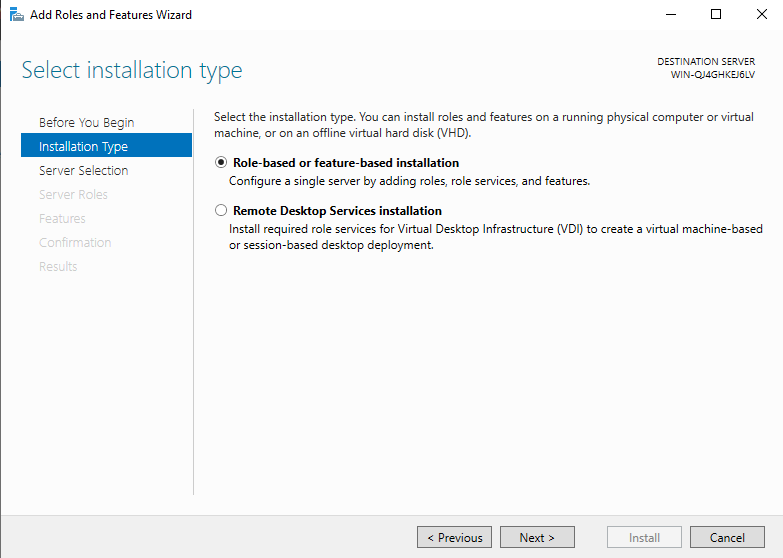
On the “Select installation type” page, make sure that the “Role-based or feature-based installtion” option is selected, and then click the “Next” button.
-
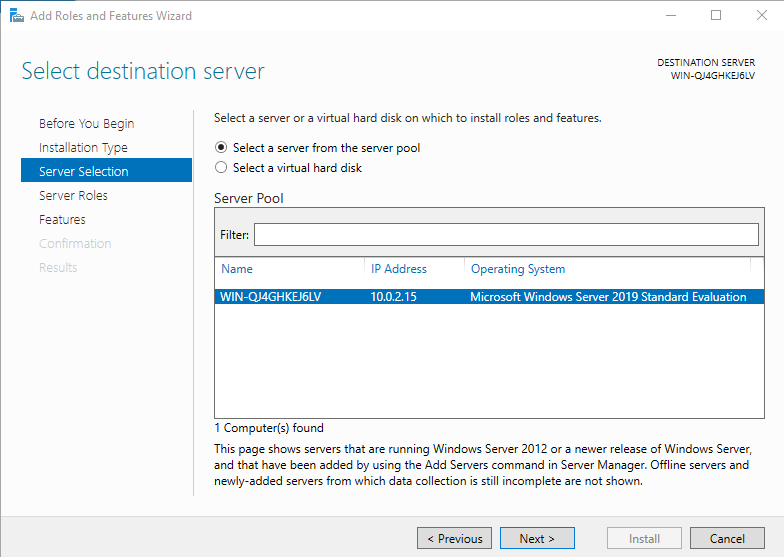
On the “Select destination server” page, select the server or virtual hard disk on which IIS will be installed. In this example, we are making changes to the local server, which is the only one currently configured. Once you have decided on the destination, click the “Next” button.
-
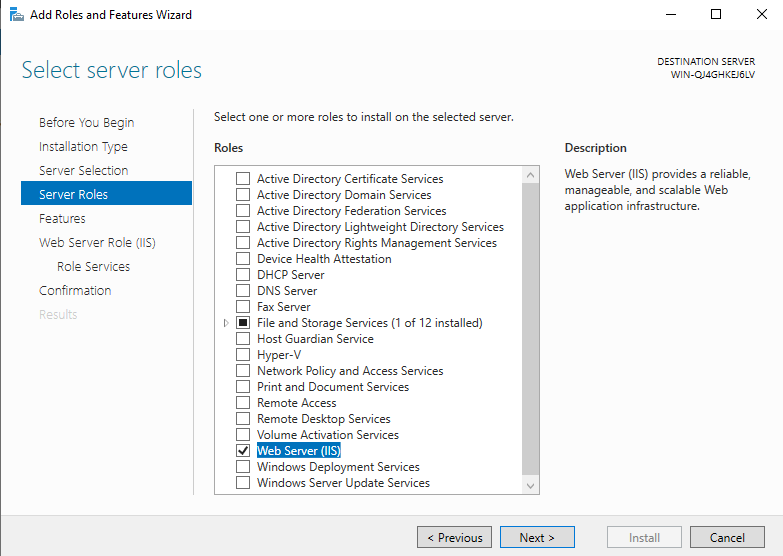
From the “Select server roles” page, check the box for Web Server (IIS).

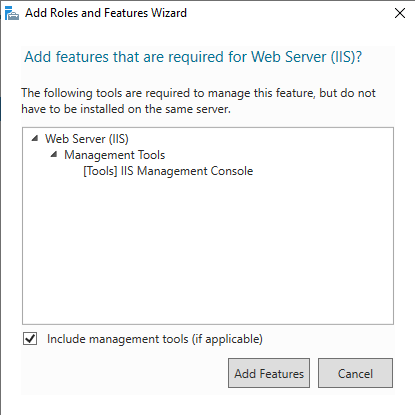
This may pop-up another window asking if you want to “Add features that are required for Web Server (IIS)?”. If so, then click the “Add Features” button.
Once back on the “Select server roles” window, click “Next” button.
-
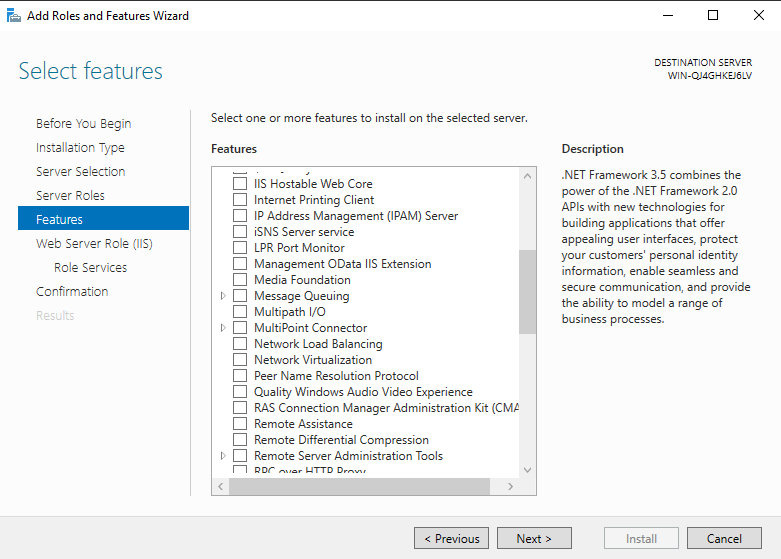
No other features are required by eWinLoan, so click on the “Next” button.
-
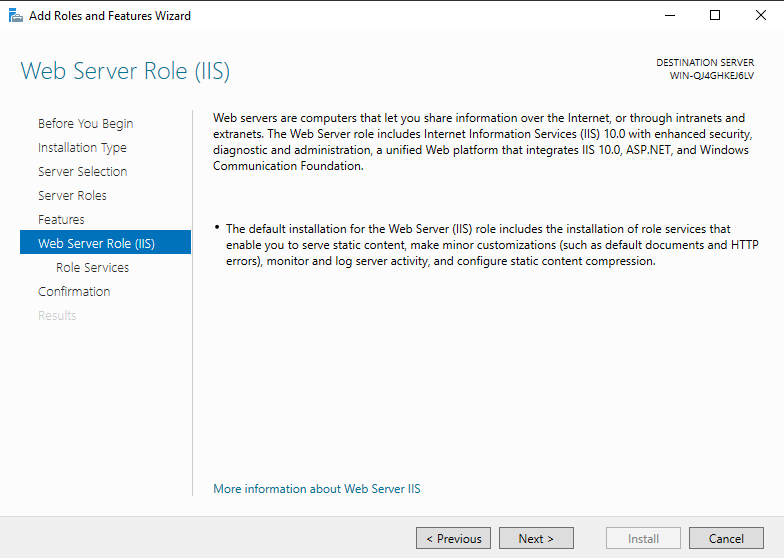
Read through the “Web Server Role (IIS)” information, and then click on the “Next” button to continue.
-
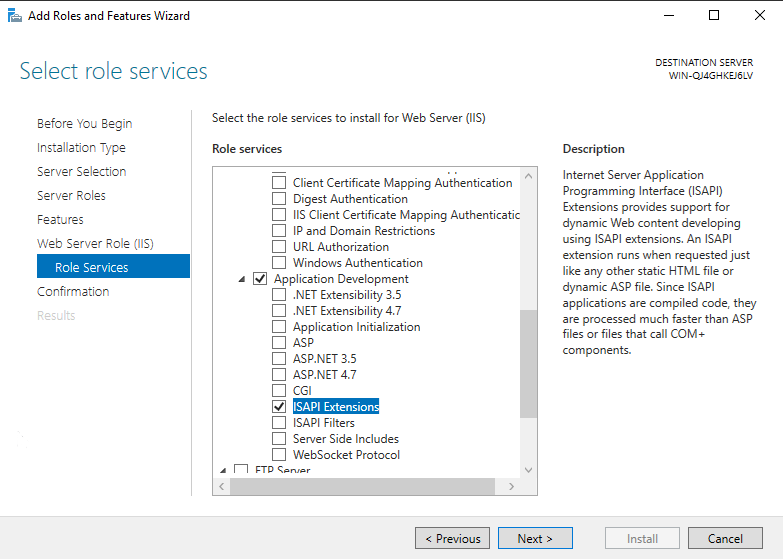
From the “Select role services” page, click on the arrow next to “Application Development” to view the options available, and then check the “ISAPI Extensions” box. This will also check the “Application Development” box.
-
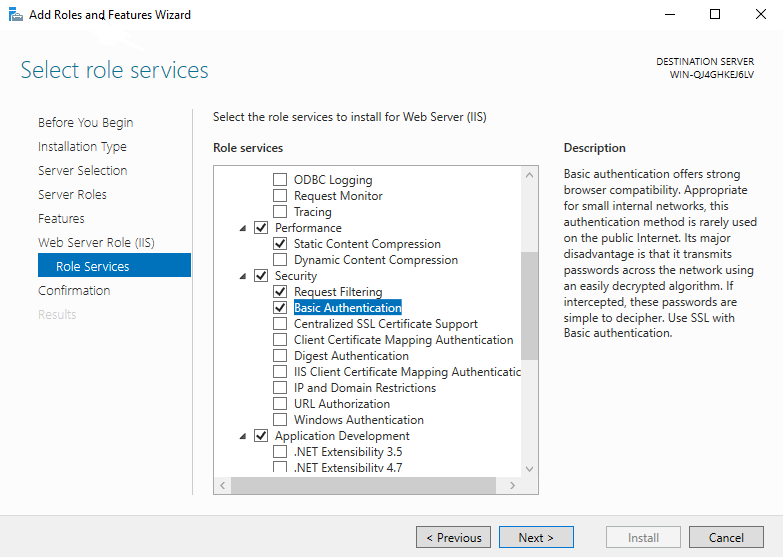
Under the “Security” section, select the “Basic Authentication” option by checking the box.
-
If you wish to restrict access by IP Address or domain of originating request, then under the “Security” section, select the “IP and Domain Restrictions” option by checking the box.

-
Since we are done selecting new service for the web server (IIS), click on the “Next” button.
-
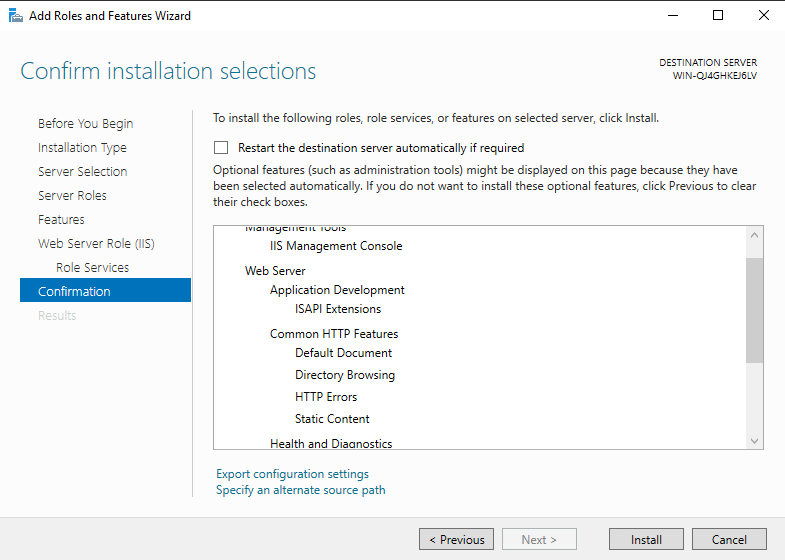
Read through the summary of installation selections, and if everything looks appropriate, click on the “Install” button to begin installation of the selected features.
-
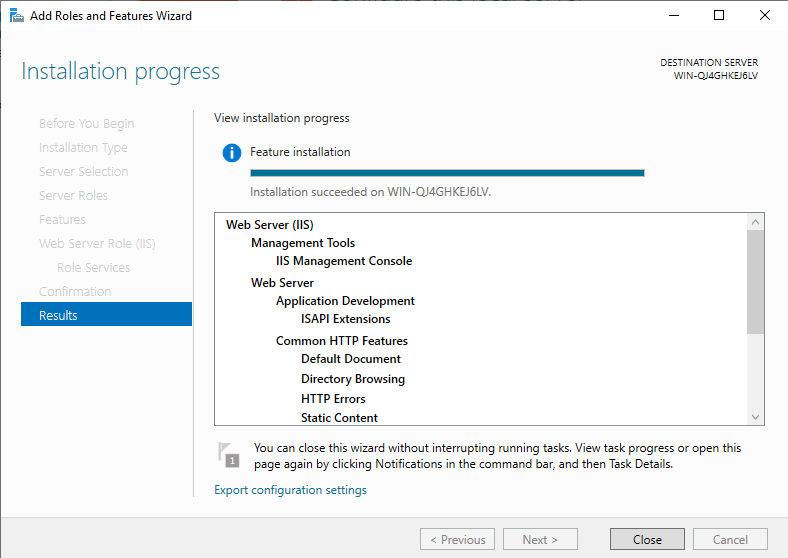
Once installation is complete, you may click on the “Close” button.
-
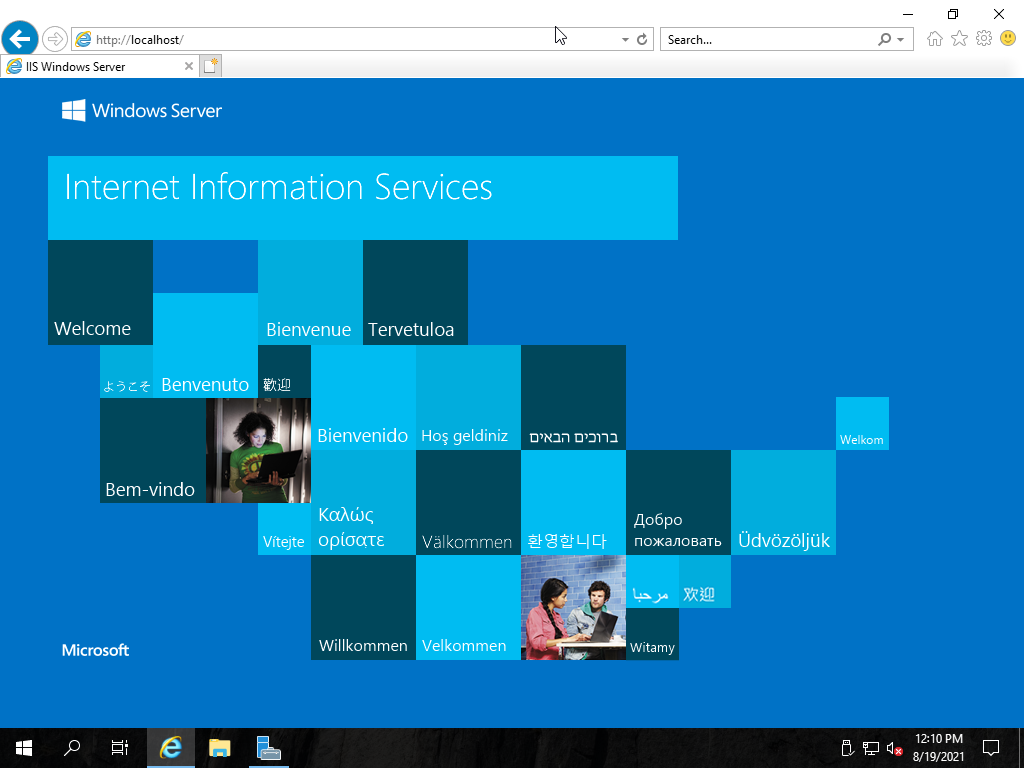
To verify that the Web Server (IIS) is up and running correctly, launch your web browser and type “http://localhost/” into the URL bar. After pressing [Enter], you should see the following image.